
In this article, I will show you how I managed to set up my Ghost blog behind a Nginx server on a Scaleway instance with HTTPS enabled.
Purchase a domain name
The first thing you will need to do is purchase a domain name, like my-awesome-blog.io. HTTPS can't be enabled without it.
Start your Scaleway instance
Create your Scaleway account if you don't have one, follow the official instructions to add an SSH key, and go to the console to add an instance.
You can choose a DEV-1S instance to start. If you don't know which OS to choose, you can pick Debian, it's a light and easy OS to start.

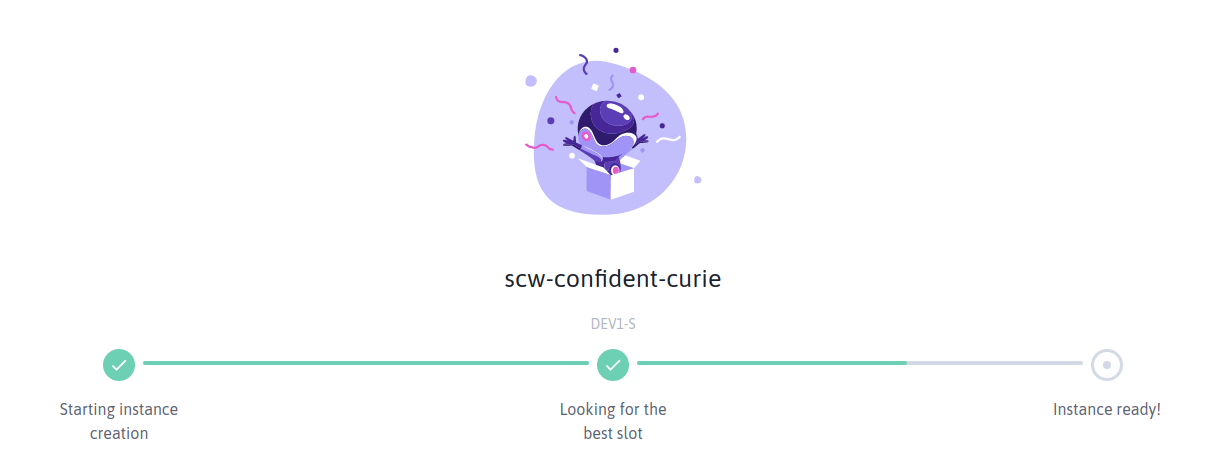
Click on Create and wait a few seconds for your instance to be created:
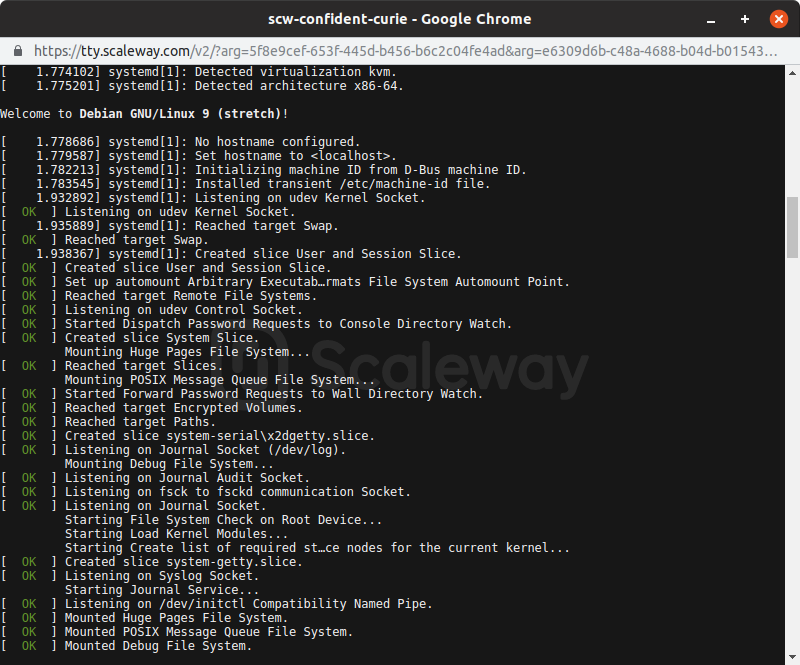
Once your instance is created, you can click on the Console button to see your instance booting:
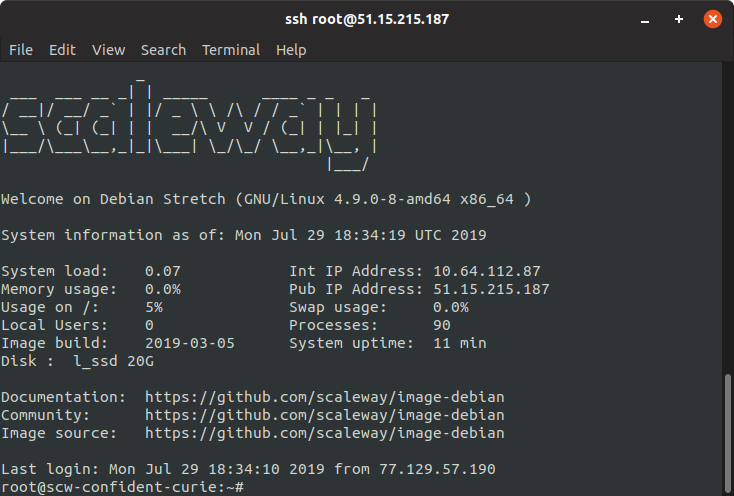
When your instance is fully started you can close the console and copy the SSH command:

Paste this command in a terminal on your computer and press ENTER, you are now connected to your instance through SSH! 🚀
You can run apt update && apt upgrade -y to update the outdated packages.
Install Nginx
Nginx is a popular and powerful web server allowing you to host many websites on your server. Run this command to install it:
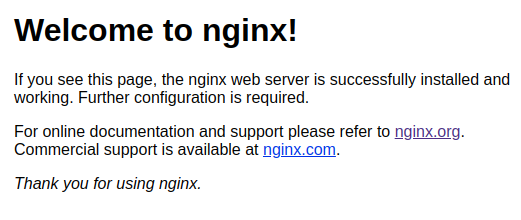
apt install nginxYou can now visit http://YOUR_SCALEWAY_IP (for example http://51.15.215.187/) and you should see that Nginx is correctly installed!
Update your DNS zone
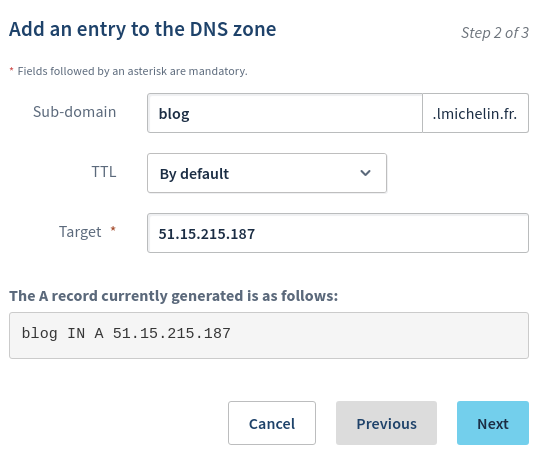
To access your server with your domain name, you need to add an entry in your DNS zone. Go to your customer account of your domain name provider and add an A entry to your DNS zone to make your domain point to your Scaleway IP address:
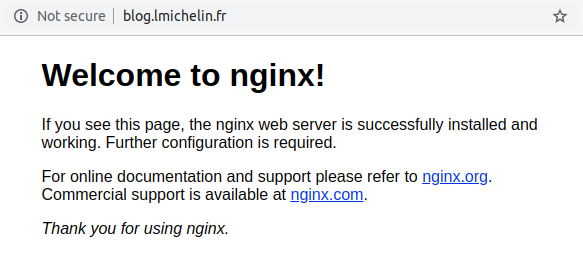
Now, you should be able to access your website with your domain name:
You are now ready to install Ghost!
Install Ghost
Install Node.js
Ghost is written in JavaScript, therefore you need to install node.js to run it:
curl -sL https://deb.nodesource.com/setup_10.x | bash -
apt install -y nodejs
Install MySQL and create a database
Ghost uses a MySQL database, so just install mysql-server:
apt install mysql-serverThen run mysql and create a new user and his own database:
CREATE USER 'ghost'@'localhost' IDENTIFIED BY 'changeThisPassword';
CREATE DATABASE ghost;
GRANT ALL ON ghost.* TO 'ghost'@'localhost' IDENTIFIED BY 'changeThisPassword';
FLUSH PRIVILEGES;
exit
Install Ghost CLI
npm install ghost-cli -gCreate a non-root user
You need to create a non-root user and add it to the sudo group to install Ghost:
adduser blog
adduser blog sudo
Create a directory for your Ghost installation
We need to create a folder and set the right owner and permissions for it.
mkdir /var/www/ghost
chown blog:blog /var/www/ghost
chmod 775 /var/www/ghost
cd /var/www/ghost
Log in as the new user
su blogInstall Ghost
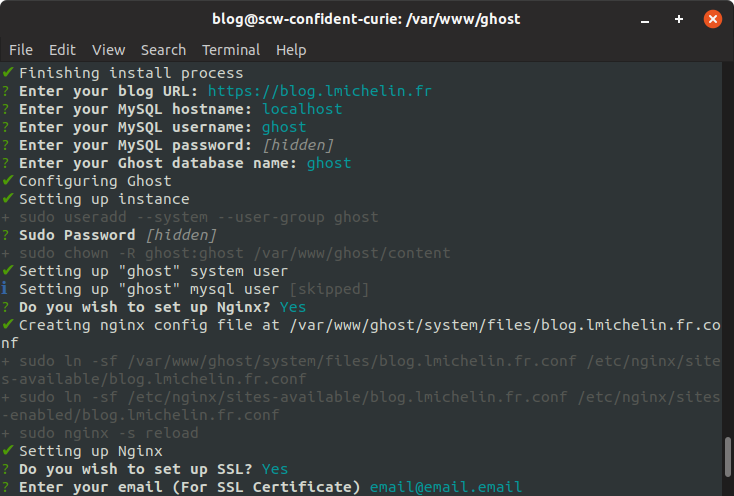
ghost install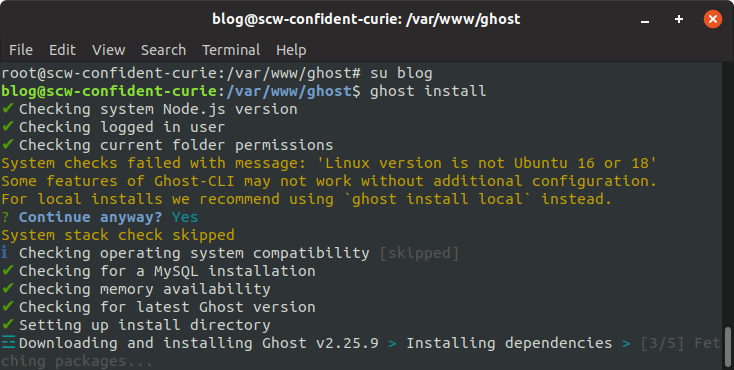
Answer the questions with your own info, and answer Yes to all Y/n questions. Ghost will automatically configure Nginx and install the acme.sh script to get Let's Encrypt SSL certificates! 👌
Your blog is now ready! 😎
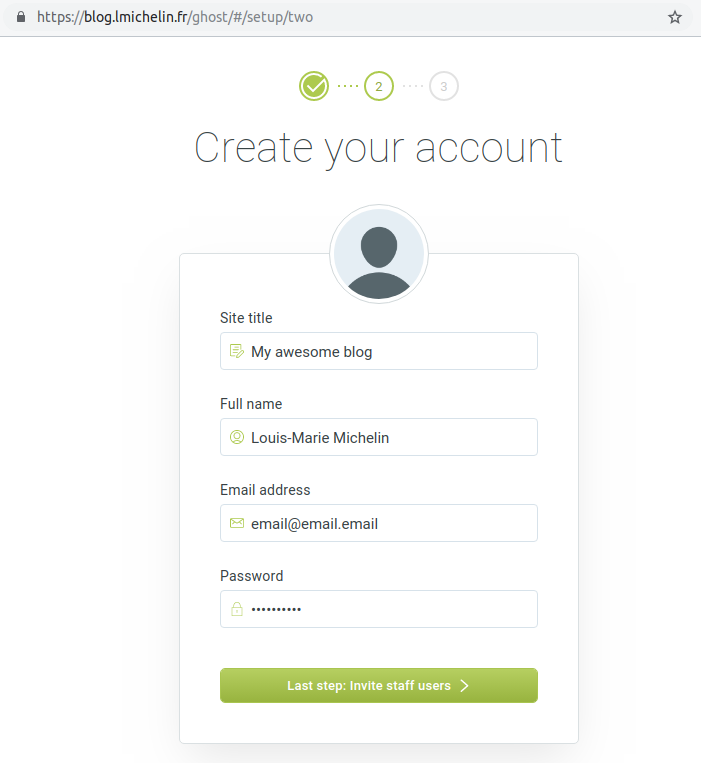
Create your first post and enjoy your new blog! 😉
Get more information on the official documentation.